
A water leak from your ceiling can feel overwhelming, but quick and strategic action can minimise damage and save you from costly repairs. This guide will walk you through practical steps to handle a ceiling water leak efficiently, from identifying the source to knowing when to call in professional help.
The first step in managing a water leak from your ceiling is to figure out where the water is coming from. Understanding the source helps determine the repair approach. Here are common culprits:
If the leak appears during or after rain, your roof is likely the issue. Damaged shingles, clogged gutters, or faulty flashing may be responsible.
If the leak is steady regardless of the weather, it could be due to a broken or burst pipe. This often occurs in bathrooms, kitchens, or areas where water pipes run above the ceiling.
If you see water pooling in warm, humid weather, it could be caused by inadequate insulation combined with cold surfaces, leading to condensation.
Air conditioner drainage problems or water heater malfunctions might also result in leaks from the ceiling. Examine appliances and their drainage systems if these are above the affected area.
Once you’ve spotted the leak, act quickly to limit the damage to your home. Follow these steps:
If water is pooling and forming a bulge in your ceiling, carefully puncture the lowest point of the bulge with a screwdriver or small tool. This controlled release will prevent the water from spreading further and causing extensive damage to the surrounding structure.
For plumbing leaks, shut off the main water supply until you can assess the issue. If the leak is near electrical wiring, immediately turn off the electricity in that area to minimize safety risks.
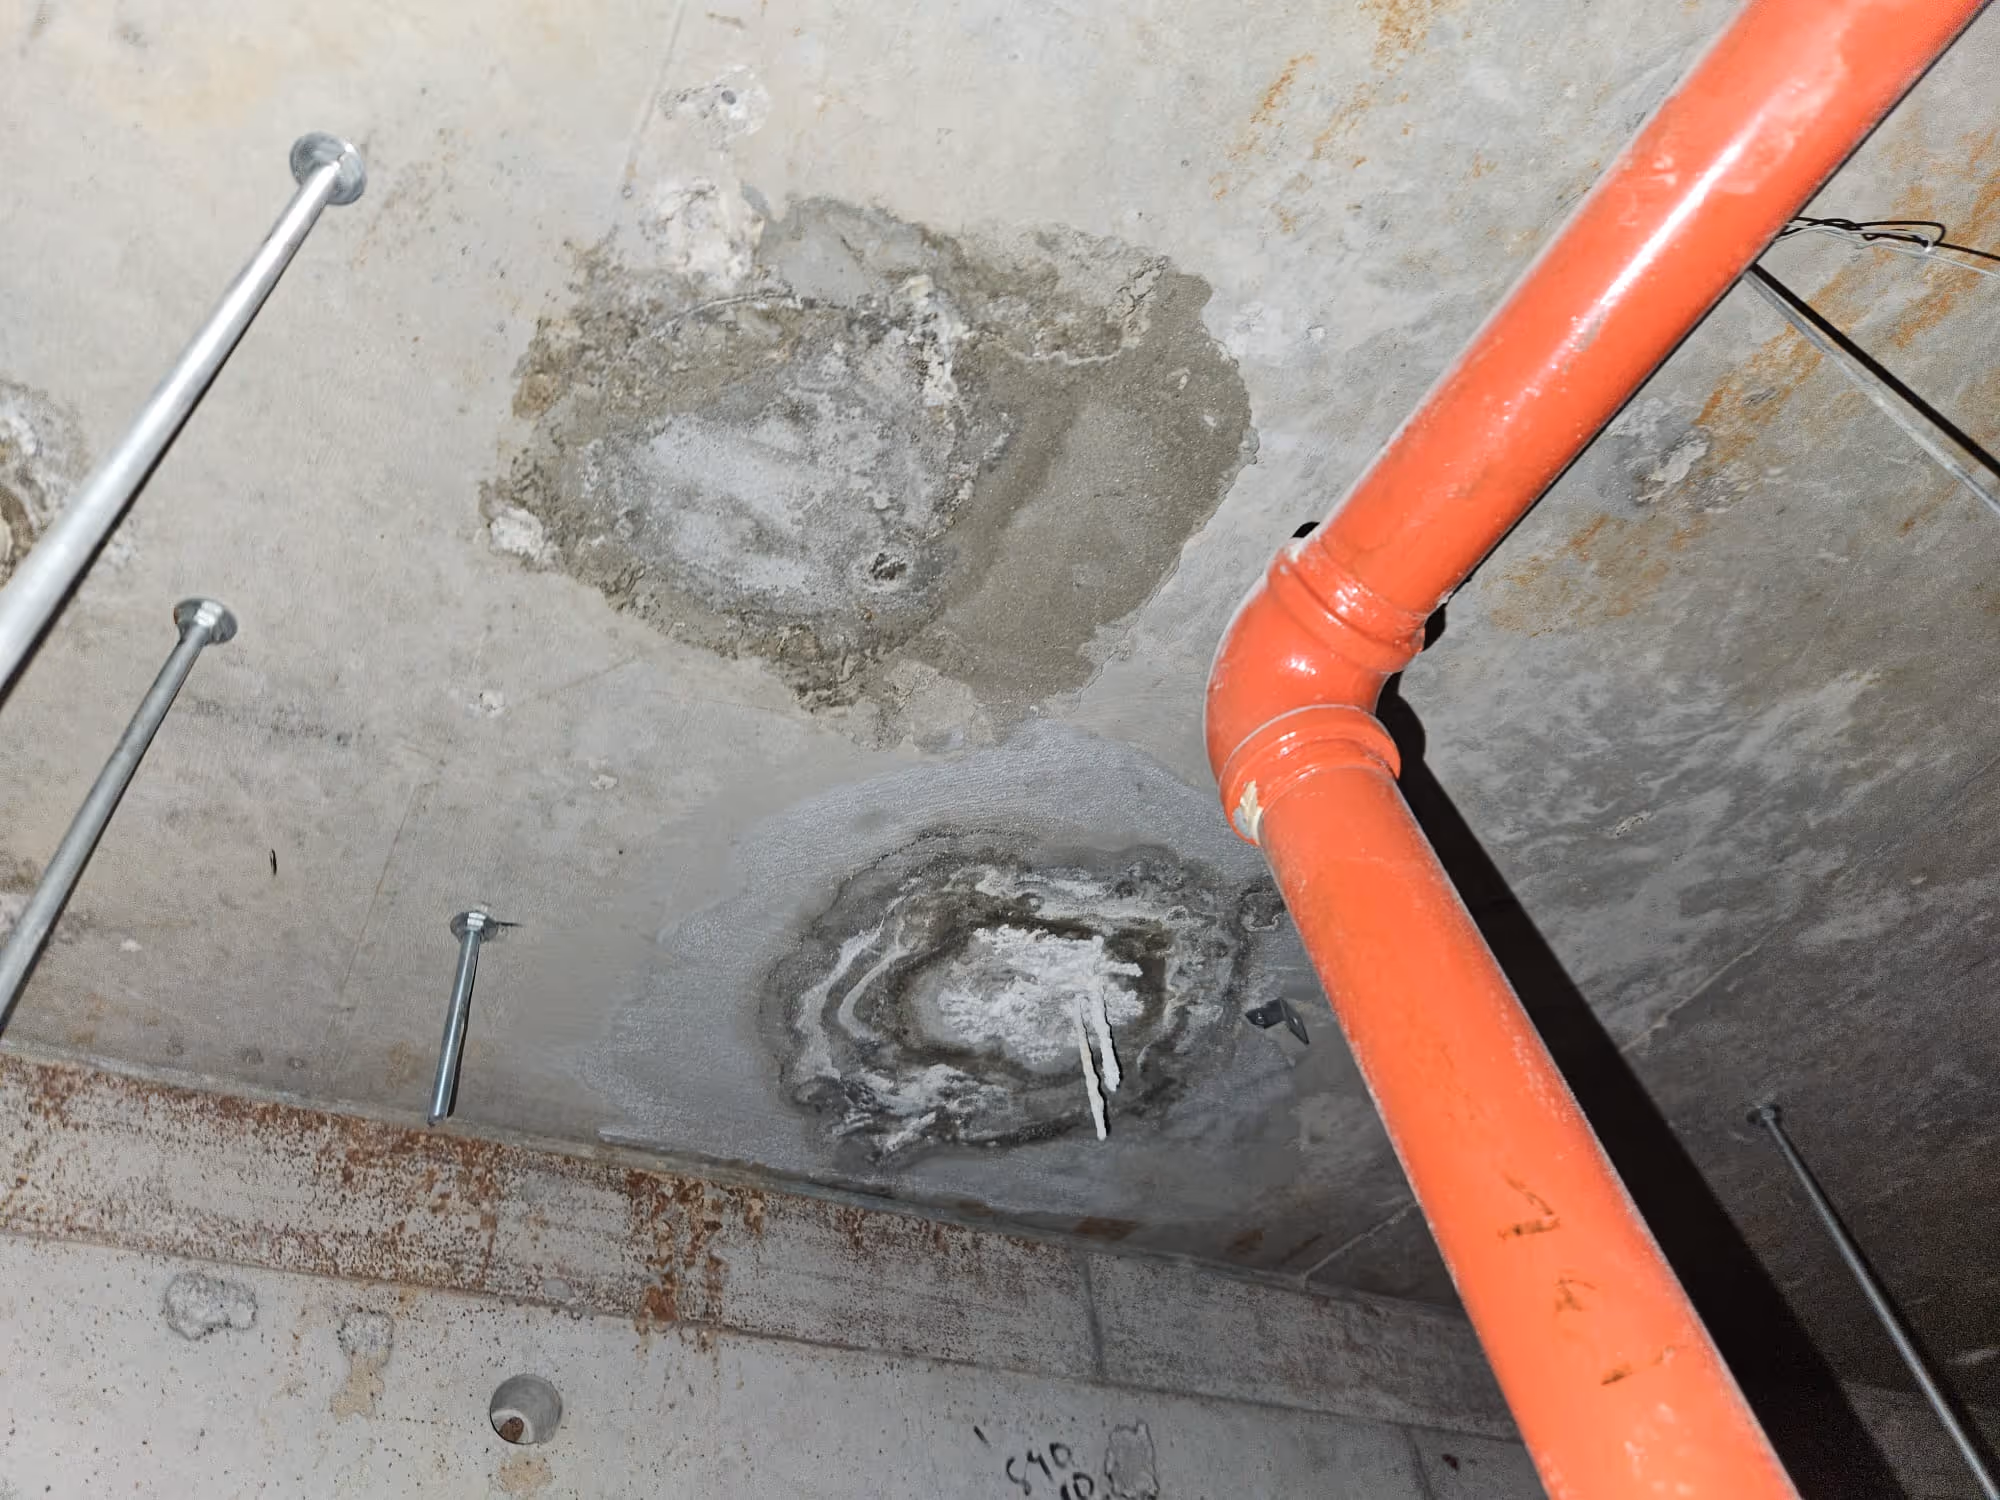
After containing the leak, examine the area to understand the scope of the problem:
Document the damage with photos to send to professional.
While you wait for professional help or gather supplies for a lasting fix, consider these temporary measures:
Use waterproof tape or sealant to temporarily plug small leaks.
For roof issues, place a tarp securely over the area to prevent further water ingress until repairs are possible.
Use fans and dehumidifiers to dry out damp sections. This reduces the risk of mold and structural deterioration.
Some ceiling leaks can be resolved with a DIY approach, but others require expert attention. Here’s when you should contact a professional:
If the issue stems from burst pipes, corroded lines, or poorly sealed joints, a licensed plumber can locate and repair the leak efficiently.
When large portions of the ceiling sag or collapse, specialized contractors are needed to replace the damaged materials and restore the structure safely.
If drying efforts fail to eliminate dampness, it could lead to hidden mold damage down the line. Mold remediation experts can address this.
Certified roofers can diagnose the problem and provide lasting solutions like replacing shingles or resealing flashing.
Regular maintenance of your home can significantly reduce the likelihood of ceiling water leaks. Here’s what you can do:
A water leak from your ceiling doesn’t have to turn into a nightmare. By identifying the source, taking immediate action, and knowing when to call a professional, you can mitigate the damage effectively. Regular maintenance of your roof, plumbing, and insulation systems is also key to preventing future leaks.
If you’re facing a ceiling leak, don’t hesitate to contact us, Triton Construction, for professional help. We provide leak repair services and offer the expertise and tools to resolve the issue safely. Act today to protect your home and ensure its long-term durability.